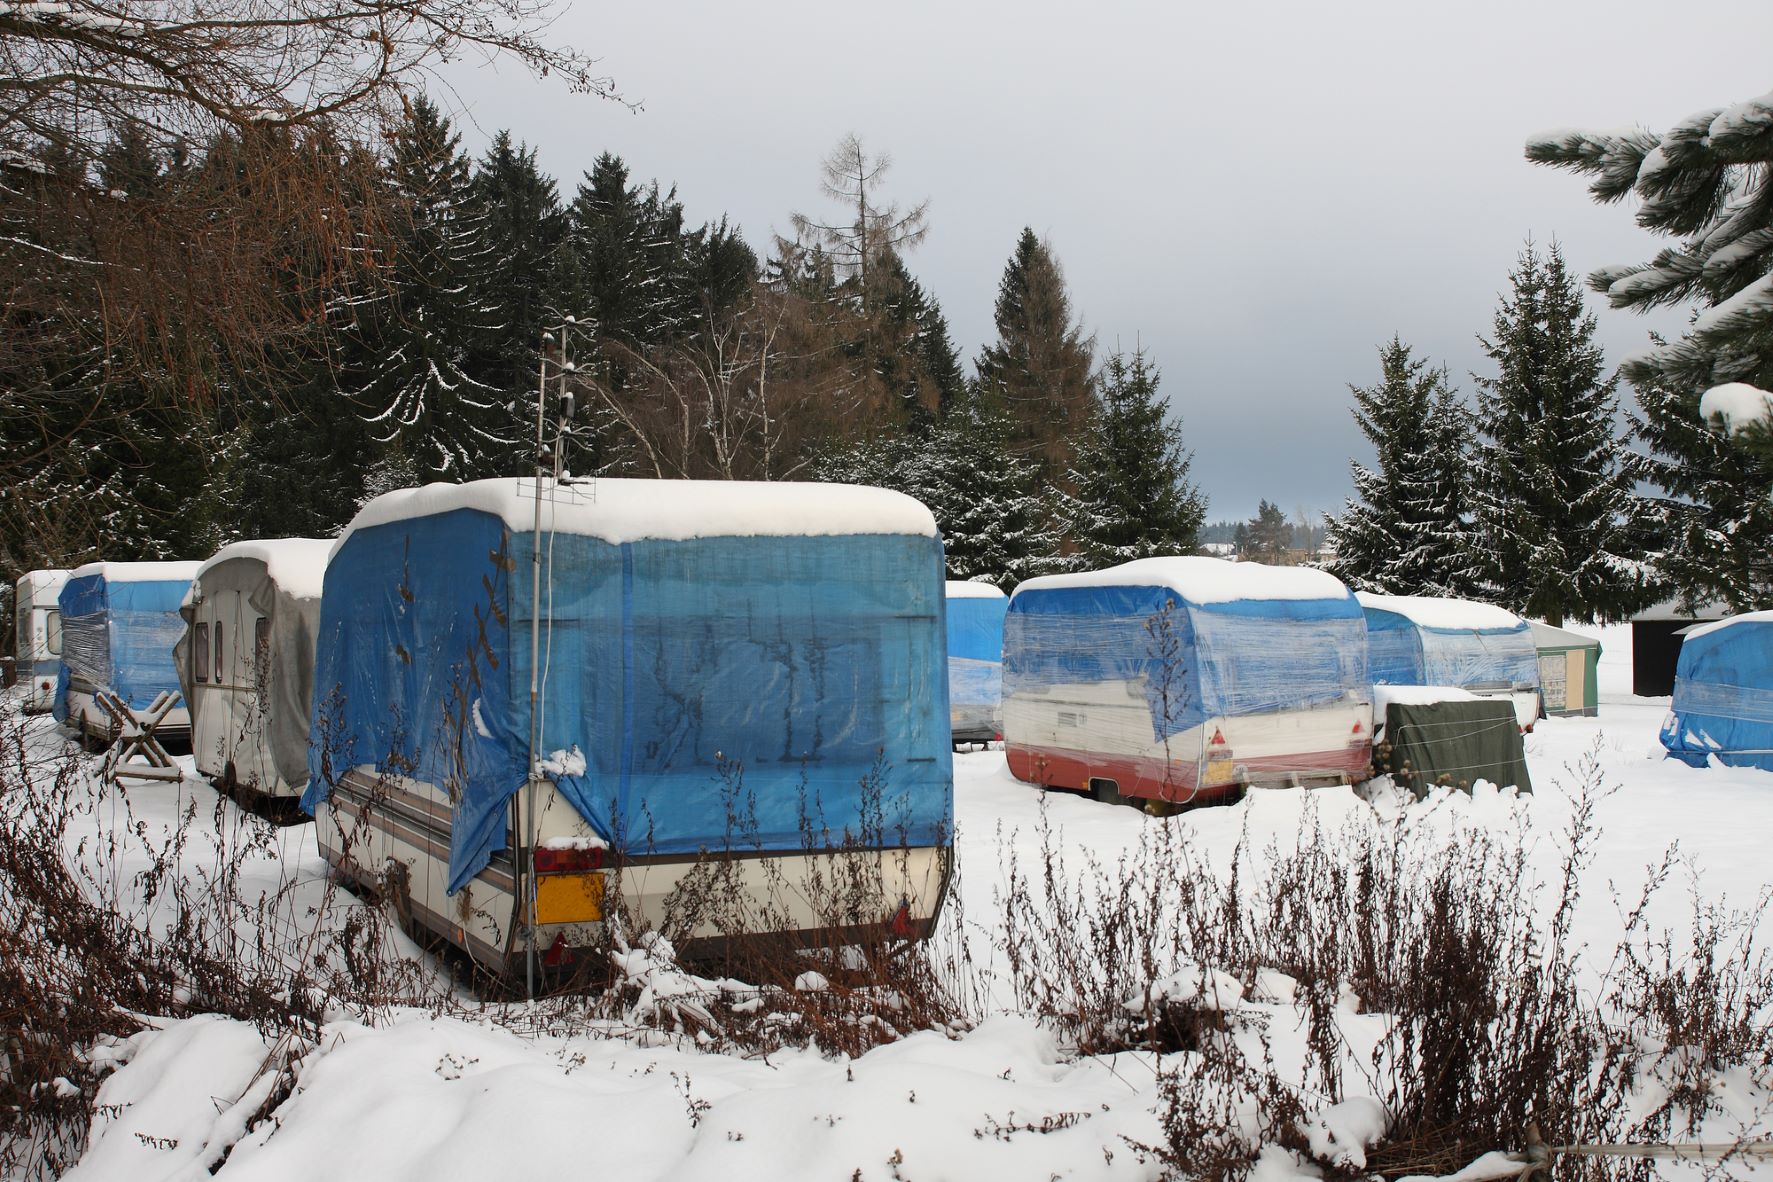
Winter may be a few months away, but it’s never too early to start winterizing your 5th wheel camper, especially if you’re living in it over the winter. By preparing early, you’ll be able to quickly insulate the doors and windows, prep the plumbing system, and install all the necessary thermal curtains and accessories. Not sure where to start? I’ve got you covered.
The first step to winterizing your 5th wheel camper is to inspect the roof for any cracks or holes. You can then insulate the doors and windows to keep the interior warm before moving to the plumbing. Using insulated spiral wrap, pack your plumbing lines to keep the freshwater system from freezing. You may even consider using some antifreeze to protect your black and gray tanks.
While it’s no small job, winterizing your 5th wheel camper is necessary if you plan to spend the winter in your trailer. In this article, I’ll walk you through everything you need to know to protect your vehicle through the coldest months and keep you and your family safe.
Inspect and Prepare the Roof for Snow and Ice
Winter can be an especially trying time for your camper’s roof if you live in a cold climate. Between snow and ice, your camper’s roof will take a lot of abuse, so you must prepare the surface ahead of time. This means inspecting it for cracks and repairing the damage before it’s too late.
While I could dedicate an entire post to insulating your camper roof, I’ll sum it up into a few simple steps:
- Inspect the roof for cracks, holes, or other damage: First and foremost, determine what type of roof you have. If your camper’s roof is walkable, you can get on top of your trailer to look for damage. However, if it’s not walkable, it will not support your weight, and you’ll need to use a ladder. Look for visible damage and also inspect the seams and seals.
- Clean the roof: It’s wise to clean your camper’s roof at least a couple of times a year to prevent damage. If you do find any holes or cracks, you’ll have to carefully clean away any dirt before you can apply a new sealant. I recommend using an all-purpose cleaner and a scrub brush to get the job done.
- Apply a new sealant: Once the roof is clean and dry, you can apply a new sealant to any holes or cracks. Be sure to follow the instructions on the sealant and allow it to dry completely before continuing.
- Install a roof vent cover: If your camper has a roof vent (typically in the bathroom), you’ll want to install a cover to keep the snow and ice out. Most vent covers are easy to install and only take a few minutes to snap into place.
- Add insulation: One of the best ways to protect your camper’s roof is to add insulation. This will help prevent heat from escaping and make it more difficult for ice and snow to build up. You can purchase insulation specifically for RVs or use a standard insulation kit from your local hardware store.
Once you’ve completed these steps, your camper’s roof will be better prepared to withstand the winter weather.
Insulate Your Camper’s Doors and Windows
If you plan to spend extended periods in your camper throughout the winter, you’ll need to insulate the doors and windows to prevent heat from escaping. This will help to reduce your fuel consumption and keep you and your family warm no matter how cold it is outside.
There are a few different ways to insulate a camper door or window, but one of the most popular methods is to use reflective bubble wrap. This material is easy to work with and can be found at most hardware stores.
Another option is to use shrink film. This is a plastic film that you can apply to the door or window and then heat with a hairdryer to shrink it into place. This method does take a bit more time, but it’s very effective.
To start insulating your camper’s doors and windows:
- Start by cleaning the surface of the door or window. This will help the insulation to stick and will also remove any dirt or debris that could potentially damage the film.
- Measure the door or window and then cut the insulation to size. It’s important to make sure that the piece is large enough to cover the entire opening.
- Apply the insulation to the door or window. If you’re using bubble wrap, smooth out any air bubbles.
- Once the insulation is in place, you can use painter’s tape or another type of adhesive to secure it to the door or window. If you’re using shrink film insulation, heat it using a blow dryer or heat gun to make it stick to the surface.
- Repeat the process for each door and window in your camper.
The next time you turn your camper’s heater on, the heat will be trapped within the interior, keeping you warm through the cold winter nights.
Prepare the Plumbing for Freezing Temperatures
A frozen plumbing system is the absolute last thing you want to deal with when out on the road. This includes both your freshwater system and your gray and black tanks. To avoid the hassle of fixing a damaged plumbing system, plan ahead of time and get to work insulating your lines as soon as the nights start to cool off.
Many RV maintenance guides recommend using anti-freeze to prepare your water system, but that is primarily if your 5th wheel will be in storage over the winter. If you’re living in your camper, you’ll need to do something else.
Instead, you should wrap your freshwater lines in insulation coils:
- Start by draining your freshwater tank and disconnecting the water pump’s hose.
- Next, use a clean rag to wipe down the entire length of the hose. This will remove any dirt or debris that could potentially damage the insulation.
- Once the hose is clean, begin wrapping it in the insulation. I recommend using a product like Frost King’s Easy Heat Pre-Shrunk Tubing. This product is specifically designed for RVs and can be found at most hardware stores and Amazon.
- Continue wrapping the insulation around the hose until the entire length is covered.
- Once you reach the end of the hose, use a zip tie or a piece of string to secure the insulation in place.
- Repeat the process for all the hoses in your camper’s plumbing system.
If you are not staying in your RV over the winter, you’ll want to move on to your water heater. If you’re staying, skip this part.
Most campers have a 12-volt water heater, but some may have a 110-volt model. Regardless of voltage, this process should work to clear your camper’s water heater before it has a chance to freeze:
- Start by turning off the power to the water heater.
- Next, open the pressure relief valve to release any pressure in the tank.
- Open the drain valve and allow the water to drain from the tank.
- Close the drain and pressure relief valve once the tank is empty.
- Now, disconnect the power wires from the terminal block.
- Finally, open the bypass valves to prevent the water in the lines from freezing.
Once you’ve completed these steps, your water heater and fresh water lines will be winterized and ready for the cold months ahead.
Install Thermal Blankets, Sleeping Bags, and Curtains
Finally, the last thing you should do to prepare your 5th wheel camper for winter is to add some home comforts. A cozy thermal blanket or sleeping bag will come in handy during the long winter nights when the temperature drops well below freezing. Additionally, a few sets of thermal curtains can add extra insulation to keep the heat in.
Other smart accessories you can add include:
- An electric space heater: This can supplement your camper’s heating system and help take the chill out of the air on those extra cold nights.
- An electric blanket: Get a good one with a timer that can warm your bed automatically for you.
- A set of flannel sheets: These are much warmer than standard cotton sheets and will help you stay comfortable all night long.
You’ll appreciate these small details the longer you spend in your camper. Don’t neglect them, or you’ll wish you had something to keep you warm.
Final Thoughts
As you can see, a lot goes into winterizing a 5th wheel camper. By taking the time to prepare early, you can avoid the hassle of dealing with a frozen plumbing system or other damage caused by the cold weather. Start planning early, and you’ll be ready for the winter months.
Don’t forget to check out our Recommended RV Equipment list!
Get a FREE copy of the Go Together Go Far Travel Trailer Hookup and Disconnect Checklist when you sign up for the Go Together Go Far Newsletter!
Want to learn more about different types of RVs? Check out:
- Best Off-Road Camper Trailer Under $10,000
- Best Bunkhouse Travel Trailer Under 30 Feet
- Are Lance Travel Trailers Any Good?
- Do Rope Lights Deter Rodents?
- What Are the Best Names in the RV Industry?
- 3 Best Travel Trailers for Family of Four
- Blue Ox SwayPro Basics: Top Questions Answered
- Adding A Washer Dryer To Travel Trailer? What You Need To Know.
- Best Drone For Camping, Backpacking, and RVing: A Complete Guide to Drones for RVers
- Furniture and RVs – How To Get It Through the Door…
- How To Get Rid Of A Poop Pyramid In RV Black Tank
- Do You Know How Long To Keep Fresh Water In RV Tank Storage?
- What Is The Best Outdoor Security Camera System For Your RV?
- RV Bumper Mount Grills: 5 Best Options For Your RV Or Camper
- Best Electric Tankless Water Heater for Your RV. What You Need To Know
- Read Before You Buy! How to Find the Best Scooter for RV Camping
- 3 Best Travel Trailers for Family of Four
- Top RV Brands: What Are the Best Names in the RV Industry?
- Lance Campers: What Makes Them So Different?
- Best Bunkhouse Travel Trailer Under 30 Feet
- Best Off-Road Camper Trailer Under $10,000
- Best Weight Distribution Hitch With Sway Control For Travel Trailers in 2022
- What Are The Best Built Travel Trailers? Things To Consider.
- How Does An RV Refrigerator Work? A Quick Guide.
- Why Does My RV Carbon Monoxide Detector Keep Beeping? A Quick Guide.
- Where Is The Power Converter In My RV Or Travel Trailer
- What is the Best Generator for 50 Amp RV?
- Wireless RV Security Camera Systems: Is Solar Powered Security Without Wi-Fi An Option?
- Best Portable Air Conditioner for Camping for 2022
- How to Find the Best 3500 Watt Inverter Generator for RV Camping
- Best Propane Generator For Your RV: Read This Before You Buy!