Your RV roof vent screen serves an important purpose – it protects the vents and the fan from damage and lets in a bit of sunlight (which is always lovely). However, bear in mind that this component won’t be able to work its magic if it’s dirty.
To clean your RV roof vent screen, you should first remove it by placing your fingers under the screen and then tugging it downward. You can then spray the screen with an antibacterial cleaner or leave the cover to soak in warm soapy water.
While you’re cleaning the screen, you might want to take care of the fan blades as well. Below you will find an easy step-by-step guide that you can follow to leave your roof vent screen and the fan squeaky clean.
How to Clean RV Roof Vent Screen
- If you have a wooden trim, carefully pull it off – it simply snaps in place with regular cabinet grabbers.
- You can try vacuuming the area, but in most cases, this won’t help if the dust, insects, and dander are stuck for good.
- Remove the vent screen.
- Spray the screen with an antibacterial multi-surface cleaner. You can use a brush to remove the stubborn dirt, rinse the screen, and repeat the previous steps.
- You might want to clean the screen in a sink with hot water. Gently scrub the element if there is such a need.
- Leave the component to dry.
- While you have got the screen off and it’s drying, you can also clean the fan blades.
- If you want to go the extra mile, take the fan blades off and clean each one in the sink. Or you can stand on a stool and wipe the fan blades one by one with a damp cloth.
- If you don’t have anything installed on the roof, you can get there to give the inside of the dome a good clean.
- Reinstall the screen and the wood trim and enjoy the look of your clean cover.
How Do You Clean Plastic Vent Covers?
The majority of the vent covers in an RV are made of plastic.
To clean the components, you would have to leave the screens to soak in warm soapy water. Use a small brush to scrub off any dirt between the louvers. After that, rinse the covers and leave them on a drying mat so that they can air dry.
Don’t soak the screens for too long or rub too hard as that might make the paint come off the plastic.
Types of Vent Covers for Easy Cleaning
There are only two main types of vent screens – essential covers and hinged covers.
If you are going for a basic one, choose a screen that has removable louvers. These features will make the cleaning process a lot easier.
When it comes to hinged covers, they offer a bit more flexibility. You can crank the cover open and upwards whenever you want, which will come in handy during cleaning.
You might also want to pick a cover made out of high-density plastic with UV protection. Such models are a lot more durable and strong and will not crack.
Why Should You Clean Your RV Vent Screen?
RV fans and vents provide your recreational vehicle with the necessary air circulation and cooling. These important components must be protected, and that’s precisely what vent screens and covers do.
- The screens protect the vents and fans from damage
- Without a cover, the place where the fan is installed can become an entry point for debris and insects
- Vent screens help maximize the efficiency of RV vents and fans
How often you should clean your RV vent screen and the fan blades would depend on the frequency of use. Giving the fan and screen a good clean 2-3 times per year should be enough.
How to Remove RV Roof Vent Screen
In many cases, all you would have to do to remove the screen is place your fingers under it (you should be able to find the finger indent) and then gently tug the screen downward.
Some manufacturers have come up with convenient pop and lock screens that snap into place and make the whole process a lot easier. Bear in mind that you would have to apply a bit of force to pull the screen off. Once one side of the screen is loose, condense and then rotate the frame a bit – the whole thing should come off at this point.
You can also choose to get on the roof and push the tabs down (this will help make sure that the screen doesn’t break). However, that might require a bit too much effort, especially if you have a bicycle rack installed on the roof.
Depending on the type of vent and fan that you have, you might need a screwdriver. Some RV vents have four screws on the main holder and up to eight screws holding the actual screen.
How Do You Remove an RV Vent Fan?
Cleaning only the vent screen is not enough; you would have to tackle the actual fan as well.
It is possible to clean the blades while they are still attached to the motor, but you’ll be able to give the whole thing a better clean if you remove it (this might take you a while, though).
Let’s take the Fan-Tastic vent fan as an example:
- The first thing you would have to do is remove the fuse.
- You will need a screwdriver to remove the screws holding the lift motor and another three that are used to attach the whole screen assembly to the vent housing.
- If you have removed all of the screws, the assembly will simply drop. You can let it hang on the wires, as it’s quite light.
- The center shaft has a brass-colored screw. Remove this one as well.
- Before reattaching the fan blades that have been cleaned, make sure to wipe down the edges of the screen assembly.
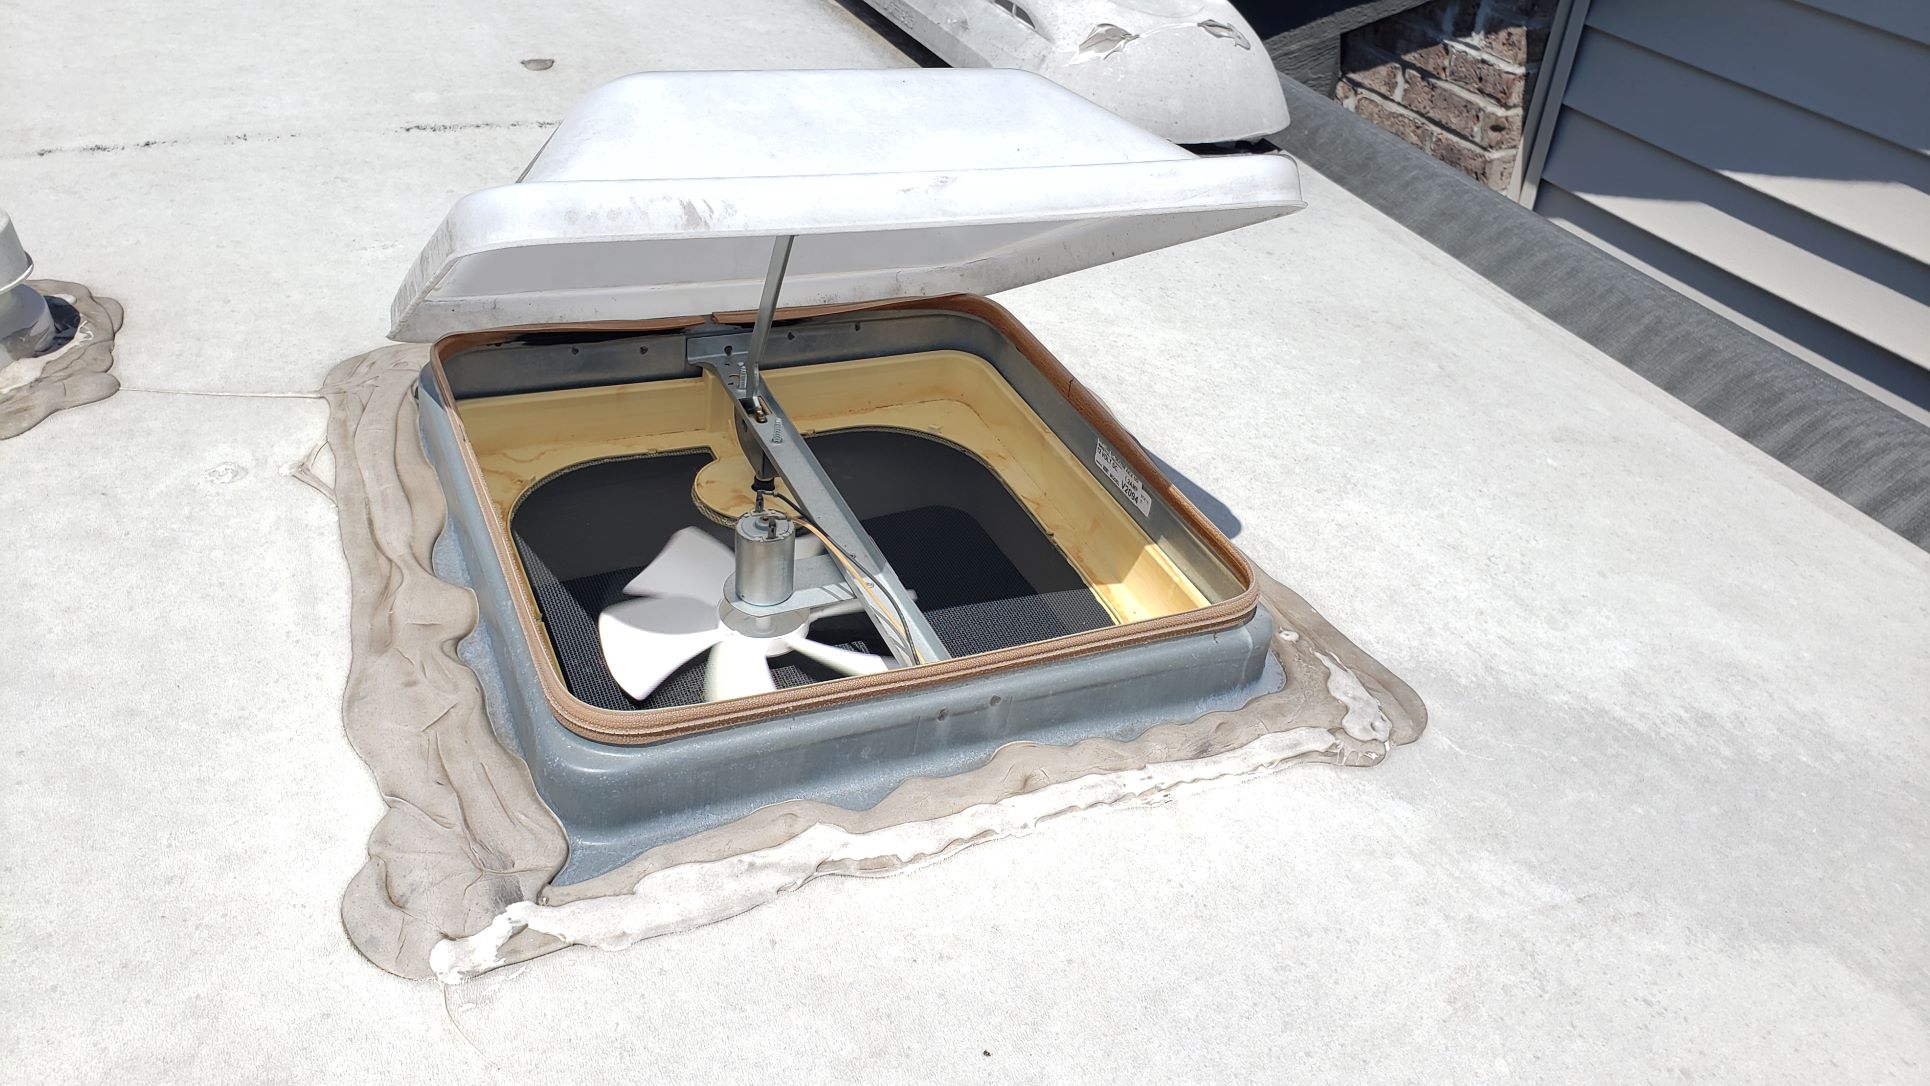
How to Remove the Vent Cover from the Roof
Some RV owners prefer to clean their vent screen and the fan from the top.
We will be talking about the Fan-Tastic vent fan once again, but the procedure is pretty much the same for most RV vents.
- Remove the screw to disengage the components that move the cover-up and down.
- Pull the cover all the way back.
- Four screws hold the fan motor in place – remove those.
- Don’t forget to disconnect the wiring before pulling the motor out (some models have a snap-tight wiring connector).
While you’re on the roof, you might want to cover the rubber gasket seal with a UV-resistant lubricant – this will keep the thing soft. You can also lubricate the motor.
Finally, inspect the vent caulking that you’ll find around the flange. It shouldn’t have any cracks and should be nice and tight. If the caulking is old and has developed a lot of cracks, remove it and apply fresh sealant.
Tip: instead of caulking, you can use strips of special tape. Those are going to provide a watertight seal over the vent’s flange.
How Long Do RV Vent Screens Last?
Of course, the lifespan of your roof vent screen will depend on how well you manage to take care of the component. Keeping the screen clean is one of the things that’ll help you keep the cover in tip-top condition for longer.
Sun exposure, the manufacturer, material, and weather are the other factors that influence the screen’s lifespan. On average, you might start thinking about replacing the screens after they have served you for five years.
How Do You Clean Other RV Vent Screens?
It would help if you remembered that any vents and screens in your RV need to be kept clean. This is especially true for the intake vents and those located close to the floor. Their covers can be simply unscrewed and then washed in soapy water.
The roof vent is not the only one that your RV’s ceiling has. The circular vents in the roof can be removed with the help of a screwdriver as well. Those usually have foam filters that should be replaced or rinsed out, while the covers can be left to soak in soapy water.
Final Thoughts
This was our practical guide on cleaning an RV roof vent screen.
While you’re taking care of the screen, you might want to clean the fan blades as well. If you decide to get to the components from the roof, then make sure also to inspect the vent caulking.
If you take the tips mentioned above into consideration and clean your roof vent screen and fan a few times per year, your RV will always be full of fresh air (amazing, right?).
Don’t forget to check out our Recommended RV Equipment list!
Get a FREE copy of the Go Together Go Far Travel Trailer Hookup and Disconnect Checklist when you sign up for the Go Together Go Far Newsletter!
Want to learn more about different types of RVs? Check out:
- Best Off-Road Camper Trailer Under $10,000
- Best Bunkhouse Travel Trailer Under 30 Feet
- Are Lance Travel Trailers Any Good?
- Do Rope Lights Deter Rodents?
- What Are the Best Names in the RV Industry?
- 3 Best Travel Trailers for Family of Four
- Blue Ox SwayPro Basics: Top Questions Answered
- Adding A Washer Dryer To Travel Trailer? What You Need To Know.
- Best Drone For Camping, Backpacking, and RVing: A Complete Guide to Drones for RVers
- Furniture and RVs – How To Get It Through the Door…
- How To Get Rid Of A Poop Pyramid In RV Black Tank
- Do You Know How Long To Keep Fresh Water In RV Tank Storage?
- What Is The Best Outdoor Security Camera System For Your RV?
- RV Bumper Mount Grills: 5 Best Options For Your RV Or Camper
- Best Electric Tankless Water Heater for Your RV. What You Need To Know
- Read Before You Buy! How to Find the Best Scooter for RV Camping
- 3 Best Travel Trailers for Family of Four
- Top RV Brands: What Are the Best Names in the RV Industry?
- Lance Campers: What Makes Them So Different?
- Best Bunkhouse Travel Trailer Under 30 Feet
- Best Off-Road Camper Trailer Under $10,000
- Best Weight Distribution Hitch With Sway Control For Travel Trailers in 2022
- What Are The Best Built Travel Trailers? Things To Consider.
- How Does An RV Refrigerator Work? A Quick Guide.
- Why Does My RV Carbon Monoxide Detector Keep Beeping? A Quick Guide.
- Where Is The Power Converter In My RV Or Travel Trailer
- What is the Best Generator for 50 Amp RV?
- Wireless RV Security Camera Systems: Is Solar Powered Security Without Wi-Fi An Option?
- Best Portable Air Conditioner for Camping for 2022
- How to Find the Best 3500 Watt Inverter Generator for RV Camping
- Best Propane Generator For Your RV: Read This Before You Buy!